
LCD autoclave bubble removal is a post-lamination process that combines controlled pressure, temperature and time to improve residual air pockets inside an OCA-bonded display. Pressure compresses the trapped gas and pushes the bonded layers toward closer contact. Controlled heat allows the adhesive to conform more readily around incomplete-contact areas, while the hold period gives that wet-out process time to develop. Where a migration path remains, residual air may also move away from the visible void. The working recipe still has to be verified for the actual OCA material, LCD/OLED stack, panel size, loading method and equipment rather than copied from another application.
Why Can Bubbles Remain After OCA Lamination?
OCA lamination and post-lamination bubble removal solve different parts of the bonding process. During lamination, the cover glass, adhesive and display are brought together while the process tries to prevent air from becoming trapped. The autoclave stage happens after the stack has already been assembled, when small residual voids or areas of incomplete adhesive wet-out may still be visible.
A bubble can remain where the bond front closes before all air has an effective path away from the contact area. Edge geometry, printed border zones, panel support, adhesive behavior and the way the assembly was laminated can all influence the final result. That is why a visible bubble should be treated as a symptom, not as an automatic instruction to increase pressure.
Check the physical cause first. A clean, correctly aligned laminate with a small residual air pocket is fundamentally different from a void centered on dust, contamination, shifted cover glass or damaged adhesive. The first may respond to post-lamination bubble removal; the others require correction earlier in the process.
The defect pattern can provide another clue. If several panels repeatedly show the same defect in the same location, inspect cleaning, alignment, tooling, substrate support and lamination before changing the autoclave cycle. A repeated location often points to a repeated process condition.
Once the defect has been confirmed as residual air rather than contamination or structural damage, an OCA bubble remover machine should be compared by usable chamber size, loading arrangement and process control—not by one pressure number viewed in isolation.
How Does an LCD Autoclave Remove Bubbles?
The practical way to understand the process is to look at pressure, temperature and hold time as one controlled cycle. None of them works in isolation. Changing one variable affects how the remaining gas pocket and the adhesive behave while the panel is inside the chamber.
External pressure reduces the gas-pocket volume and pushes the bonded surfaces toward closer contact.
Controlled heat can make the OCA more able to flow and wet around small incomplete-contact areas.
The assembly must remain under the intended conditions long enough for the adhesive response to stabilize.
Panel support, load arrangement and inspection determine whether the qualified process is repeatable.
Pressure can make a residual air pocket smaller, but pressure alone does not remove every cause of separation. Temperature matters because the adhesive’s ability to conform changes with thermal conditions. Hold time matters because briefly reaching a target condition is not the same as maintaining it long enough for the adhesive to respond.
Loading is easy to underestimate. A process tested with one loosely loaded panel should not automatically be treated as equivalent to a different fixture, tray arrangement or production load. The working process is the combination of the recipe and the way the actual panels are supported inside the chamber.
This is why there is no responsible cross-machine answer to “what pressure and temperature should I use?” OCA systems, panel structures and machine behavior differ. Use available material guidance as the starting point, then verify the pressure cycle, temperature and hold time on the real product family. A recipe that works for one display is evidence for that application, not a universal setting for every LCD or OLED stack.
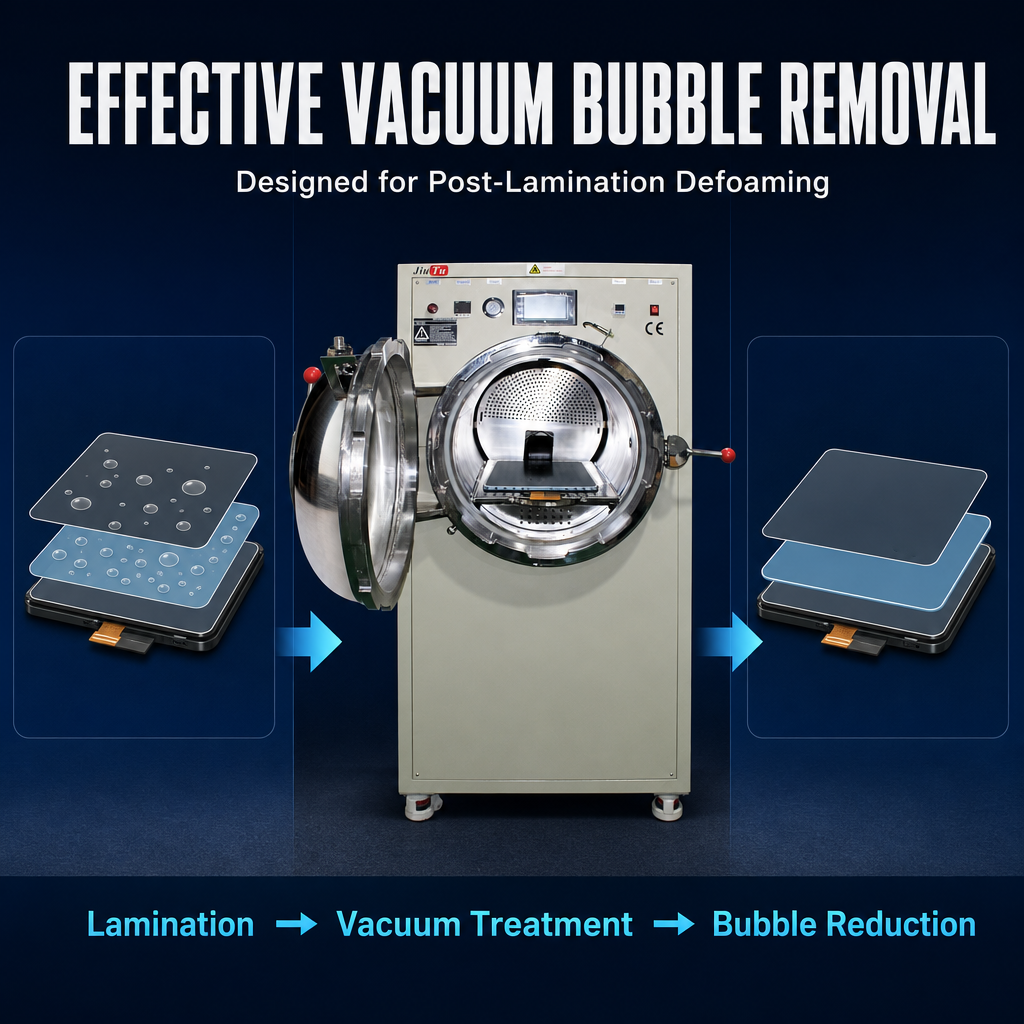
What Can Post-Lamination Bubble Removal Improve—and What Can It Not Repair?
The most useful process boundary is simple: an autoclave can assist an otherwise sound laminate when residual air or incomplete wet-out remains. It cannot turn a contaminated, misaligned or physically damaged assembly into a correct bond.
Good candidate to investigate
The laminate is fundamentally correct
- The cover, OCA and display are correctly aligned.
- No visible particle is physically holding the layers apart.
- The bonding material is appropriate for the intended stack.
- The defect appears to be residual air or incomplete wet-out.
- The result changes consistently when the qualified post-lamination process changes.
Check upstream instead
More pressure will not remove the cause
- Dust or another solid particle is sealed between layers.
- The cover glass, OCA, touch layer or display is misaligned.
- Surface contamination prevents proper adhesive contact.
- The bonding material or panel has been physically damaged.
- The same defect repeatedly follows the same tooling or handling condition.
A particle-related void makes the difference easy to see. Pressure may reduce the visible air space surrounding the particle, but the solid particle remains inside the assembly. Raising pressure or extending the cycle cannot remove it. The useful correction belongs in cleaning, static control, material handling or pre-lamination inspection.
Misalignment follows the same logic. A post-lamination cycle may change the appearance of residual air around an incorrectly positioned layer, but it cannot move that layer back into alignment. Good process control separates a defect that can genuinely improve from one that is only being made temporarily less visible.
When Should You Adjust the Autoclave Cycle—and When Should You Inspect the Earlier Process?
Consider a refurbishment or display-production operation where several panels leave lamination with visible bubbles. Increasing pressure immediately is tempting because it is an easy machine adjustment. The defect pattern should decide what happens next.
- If the bubble has an obvious particle or fixed contamination point, inspect cleaning, handling and pre-lamination QC before changing the autoclave cycle.
- If multiple panels develop the defect in the same location, inspect alignment, tooling, panel support and the lamination sequence. A repeating position usually deserves an upstream investigation.
- If clean, correctly aligned panels retain small residual voids, a controlled change to the post-lamination cycle becomes reasonable. Change one process factor at a time and keep loading conditions consistent.
- If the panel looks clear after unloading but the bubble later returns, review adhesive condition, wet-out, loading and the verified pressure-temperature-time sequence instead of assuming that more pressure is automatically required.
This approach avoids a common troubleshooting loop: increasing pressure, then temperature, then time without knowing what defect is being treated. A useful process change should have a defined reason, a controlled comparison and the same inspection method before and after the change.
For process validation, record the condition—not only the final appearance.
Panel / OCA identification → loading arrangement → pressure / temperature / time → immediate inspection → result at the defined follow-up inspection
Inspection timing should also be consistent. If delayed bubble recurrence has been observed for a product family, define a repeatable hold-and-reinspect point rather than accepting every assembly only by its appearance immediately after the chamber opens.
How Should You Choose LCD/OCA Bubble Removal Equipment?
Machine selection should begin with the display and the workload, not with the largest pressure number on a specification sheet. Two operations can use similar bonding materials and still need very different machines because one processes small screens intermittently while another handles larger modules or repeated batches.
Confirm these details before comparing machines
- Maximum panel dimensions: provide the complete width and height of the assembled part rather than only its diagonal screen size.
- Display structure: identify LCD, OLED or another substrate and whether the product is flat or curved where relevant.
- Bonding material: identify the OCA or other optical bonding material and provide available process guidance.
- Current defect: record where bubbles appear, when they become visible and whether the same position repeats.
- Expected output: provide realistic daily volume and typical batch loading rather than only a theoretical future maximum.
- Current process: describe cleaning, lamination, fixture support and the existing bubble-removal sequence.
- Installation conditions: confirm voltage, available utilities, destination and any important access or space constraints.
Do not choose an LCD/OCA autoclave from one pressure value alone. A higher number does not tell you whether the usable chamber fits the panel and fixture, whether the loading method suits the expected output or whether the controls support a repeatable process.
A compact configuration can be the more practical choice when most regular work involves smaller assemblies and there is no need to pay for unused chamber capacity. A larger format becomes relevant when the real panel dimensions, fixtures or batch arrangement genuinely require additional usable space.
Repeated production work places more emphasis on loading consistency and reproducible process control. For specialized or unfamiliar panel structures, it is also sensible to discuss sample testing or process validation before the equipment configuration is finalized.
At this stage, comparing actual LCD/OCA bubble removal equipment becomes useful because the question has moved from “How does bubble removal work?” to “Which chamber and operating format matches this verified application?”
Three equipment directions for different workloads
These machine formats are not a ranking. They illustrate why usable chamber size and workflow should be defined before a model is selected.
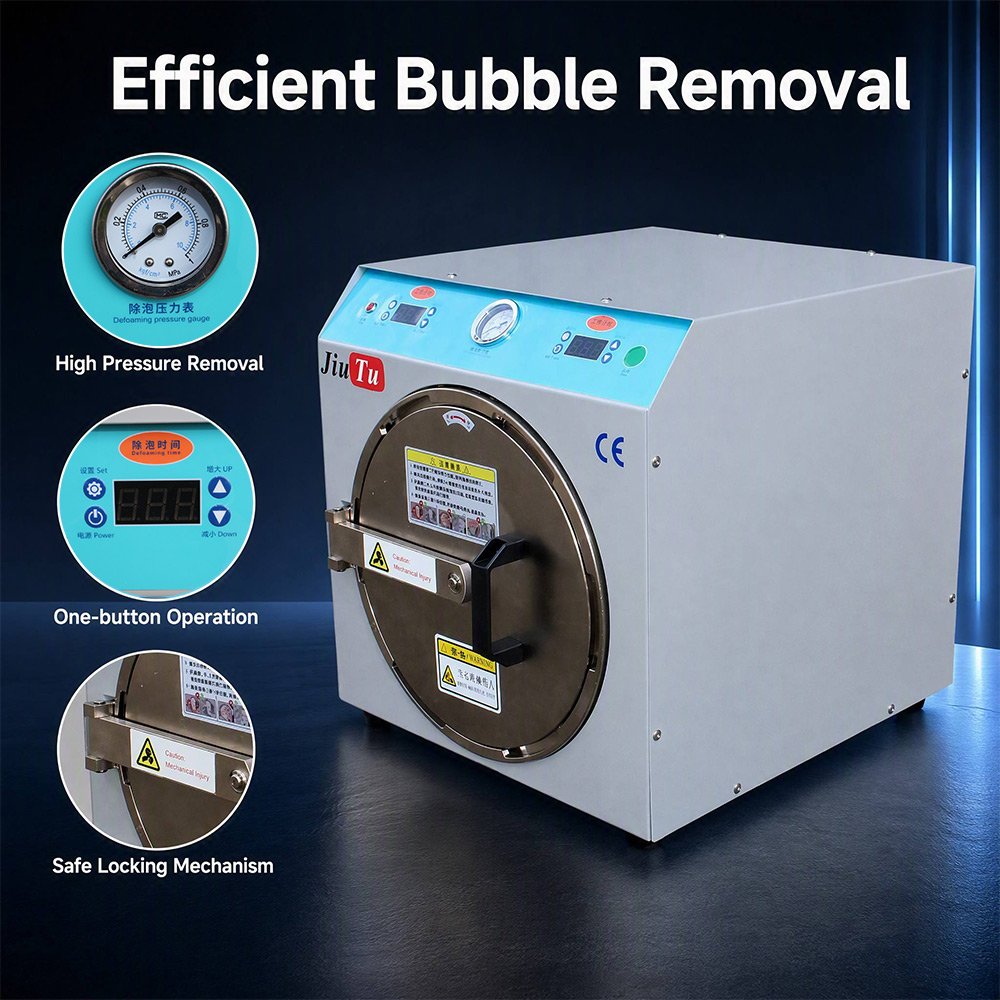
Compact benchtop format
260×340mm Mini OCA Bubble Remover Machine
Worth reviewing when regular work centers on smaller display assemblies and a compact benchtop machine fits the available workspace better than a larger floor-standing chamber.
View machine details →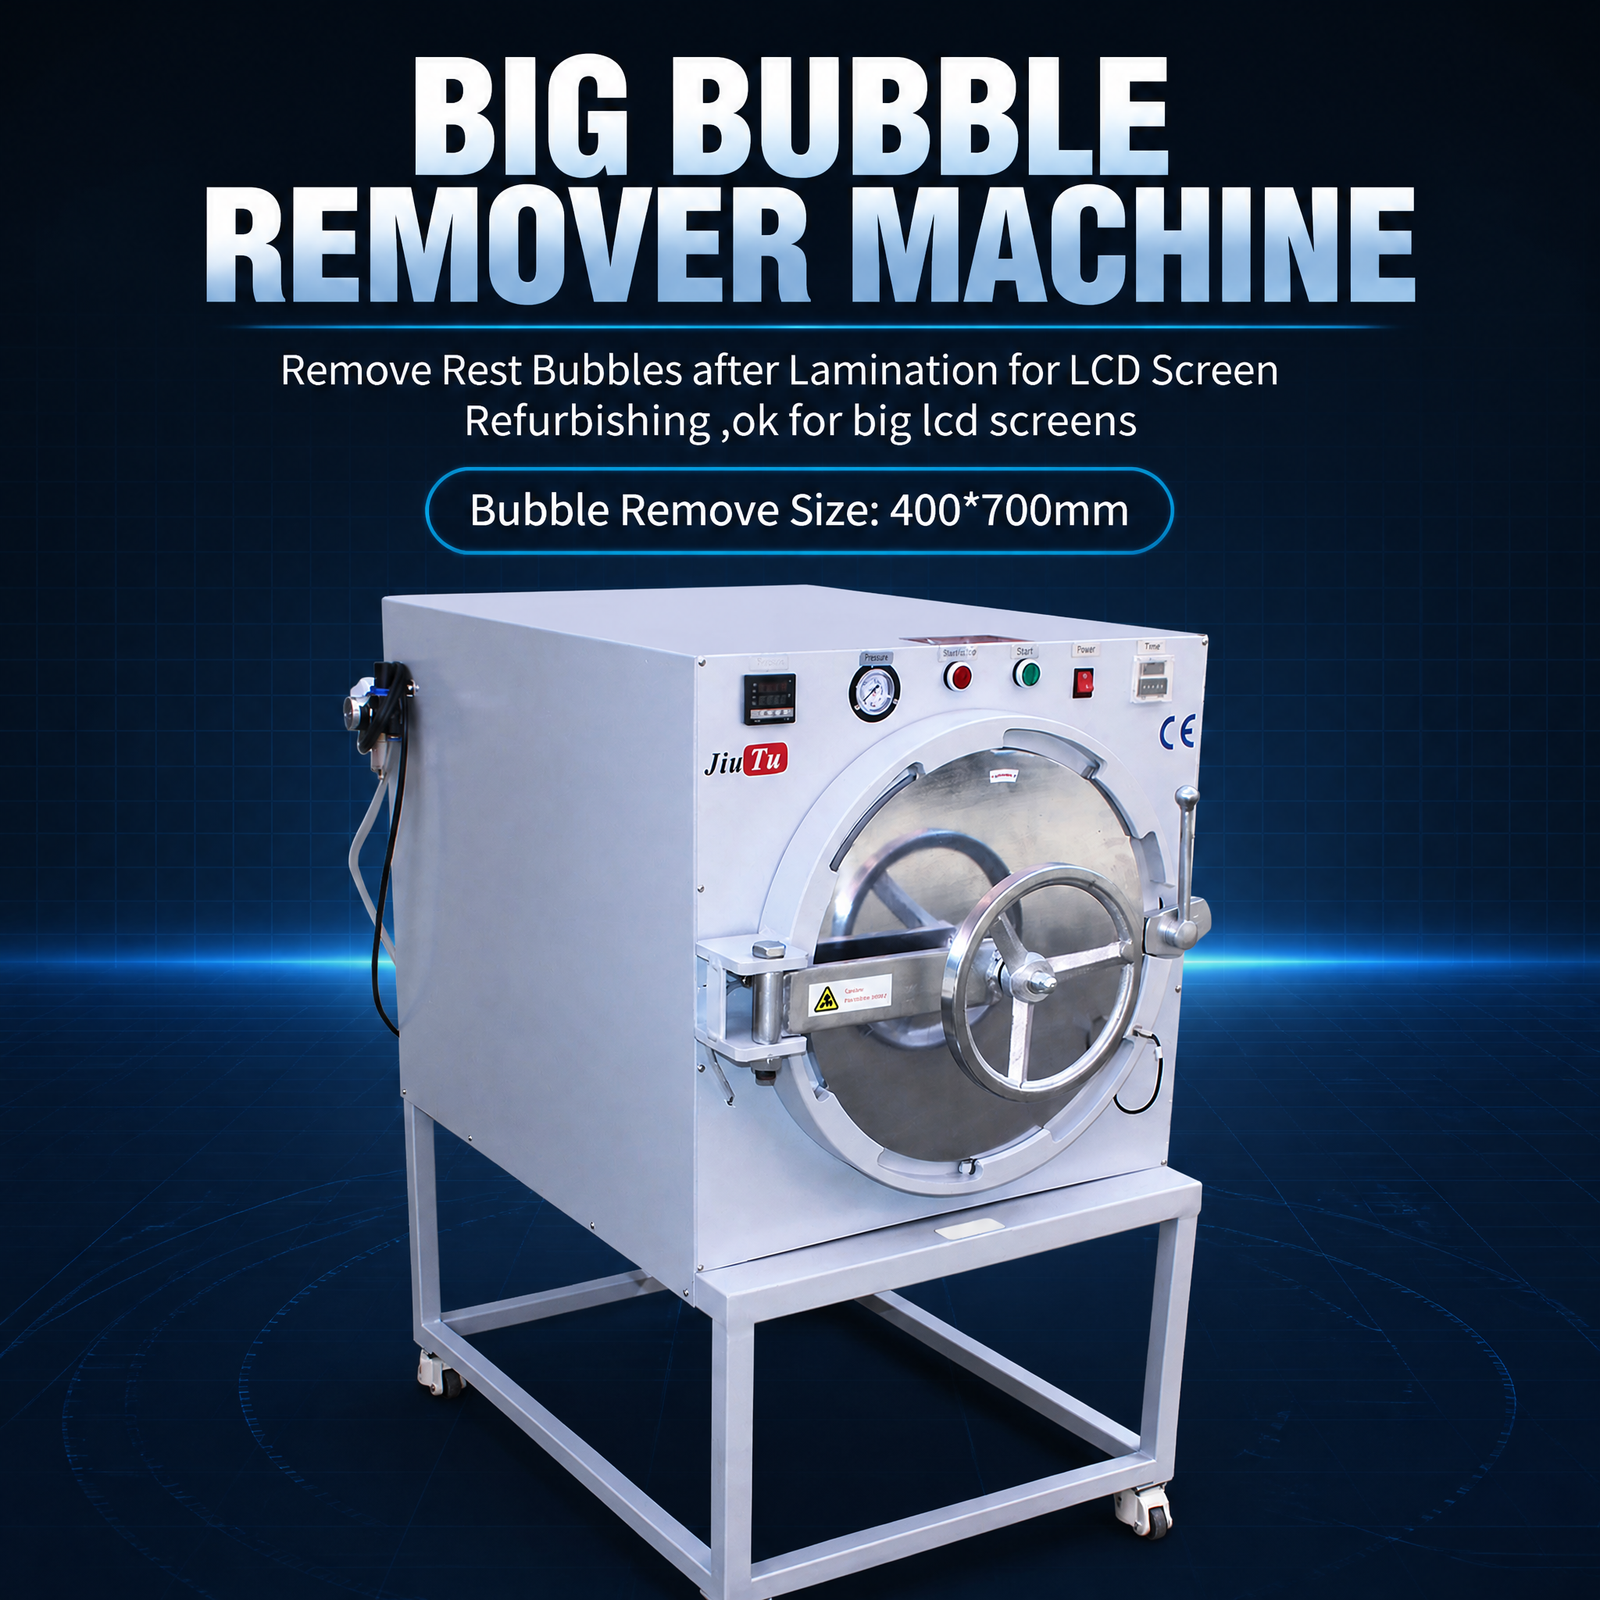
Floor-standing workflow
400×700 OCA Bubble Remover Machine with Mobile Stand
A relevant format when a floor-standing installation, deeper loading space or movable workshop arrangement fits the daily process better than a benchtop unit.
View machine details →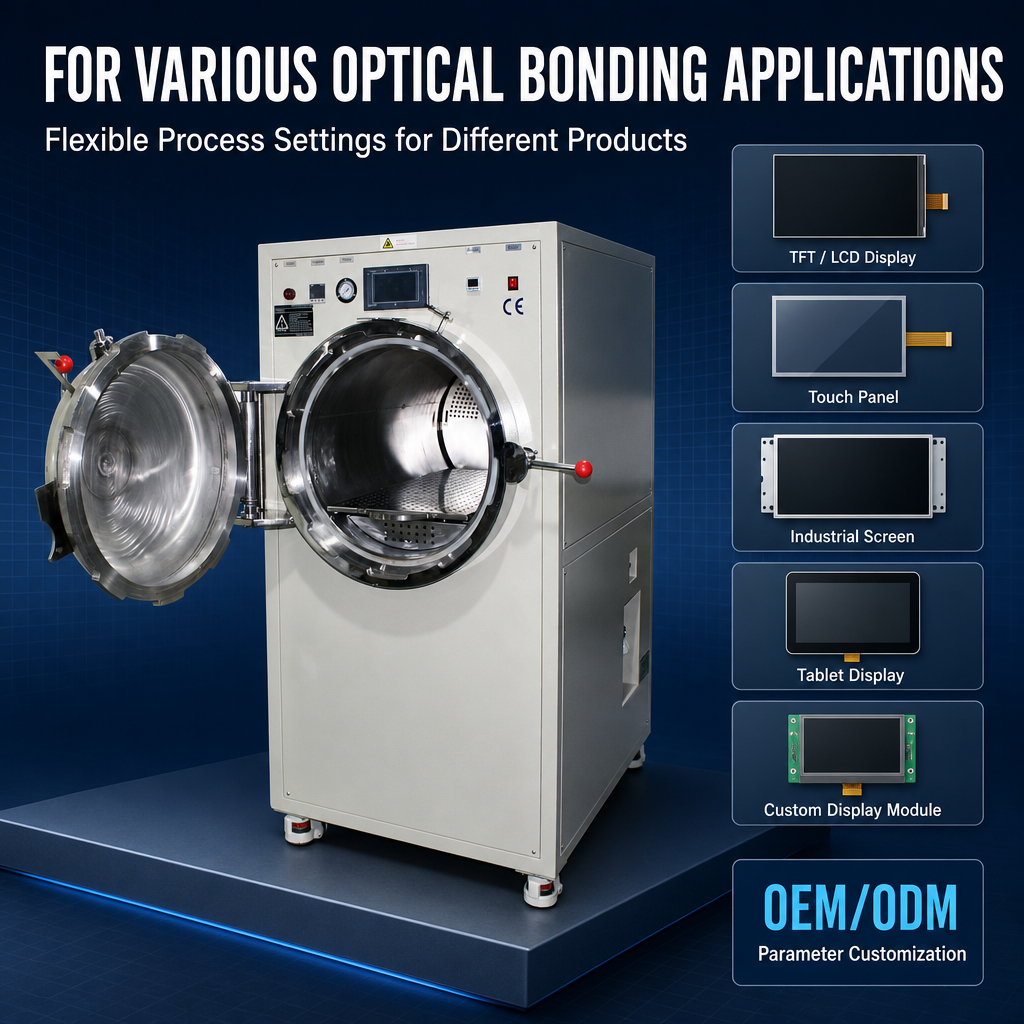
Production-oriented format
500×800mm Stainless Steel Automatic Vacuum Defoaming Machine
Worth comparing for larger or repeated optical-bonding workloads where chamber capacity, loading arrangement and programmable process control require closer evaluation.
View machine details →Frequently Asked Questions
Can an LCD autoclave remove every bubble after OCA lamination?
No. It can improve residual air or incomplete wet-out when the laminate is otherwise correctly prepared. It cannot remove a solid particle, correct layer misalignment, repair damaged material or reliably compensate for a defective upstream process.
What causes bubbles to return after a bubble-removal cycle?
A returning bubble indicates that the visible improvement was not yet a stable result. Review lamination quality, adhesive condition, contamination, loading, defect location and the verified pressure-temperature-time sequence before deciding which process factor needs to change.
Does every OCA material use the same pressure and temperature?
No. Adhesive systems, panel constructions and equipment differ. Use available material guidance and validate the process with the actual panel stack. Settings from another adhesive, display or machine should not automatically be transferred to a new application.
When should the panel be inspected after the cycle?
Inspect the assembly according to a consistent post-cycle procedure once it can be handled under the defined process. If delayed bubble recurrence is a known concern, establish a repeatable hold period and second inspection instead of relying only on the appearance immediately after unloading.
Use the Defect and the Workload to Choose the Next Step
Reliable LCD autoclave bubble removal starts with identifying the defect correctly. If a laminate is contaminated, misaligned or physically damaged, correct that condition before trying to compensate with pressure or heat. If the panel is clean and correctly assembled but still contains residual air, then pressure, temperature, hold time and loading become legitimate post-lamination variables to validate.
For equipment selection, confirm the largest regular panel, bonding material, display structure, defect location and realistic output before comparing chamber size and control method. A smaller machine may be the more efficient choice for compact work; a larger chamber is justified when real panel dimensions, fixtures or batch requirements demand it.
Application & Configuration Review
Send the Real Panel Requirements Before Selecting an Autoclave
A useful configuration review should start with the information that affects chamber fit, loading and process verification:
- Maximum panel or sample dimensions
- LCD/OLED and bonding structure
- OCA or other bonding material
- Bubble location and defect photos
- Expected daily output or batch requirement
- Current lamination and bubble-removal process
- Required voltage
- Destination and installation conditions
With those details, the equipment discussion can focus on usable chamber fit, loading arrangement and the controls that need to be verified for the application instead of selecting a machine from one specification alone.